Receive notifications
about remodeling updates
send an e-mail
2003
Ohio Avenue Block Party
passwords required
-- send e-mail
E-mail
our alder,
Judy
Olson
Updated Jan. 3, 2004
Posted Aug. 14, 2003
Karen's house project @133 Ohio, late July, early August 2003
Plumbing the depths
Why is there a step
|
 |
|
 |
||
|
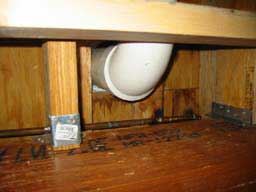
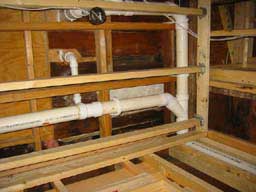
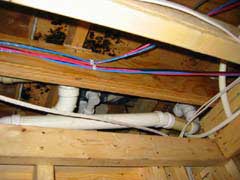
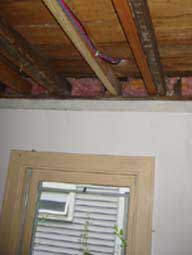
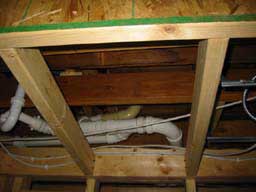
Right: Looking up at the pantry ceiling. The metal in the top right is the frame for the pocket door. Below left: Jeff's miracle with the second-floor plumbing necessitated a soffit in the passage between the pantry and the kitchen. The green marks the bottom of the soffit's face -- or can one use the word "fascia" in such a context? Below right: More of the new plumbing continuing -- or flowing -- from the photo above. At the bottom is the header for the pantry window. |
|
|
|
|
 |
|
|
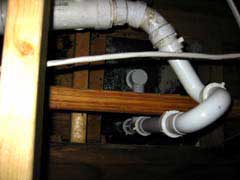
Above and right: The plumbing under the upstairs bathtub. |
 |
|
|
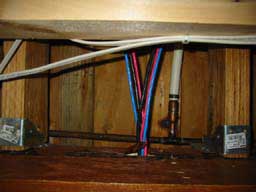
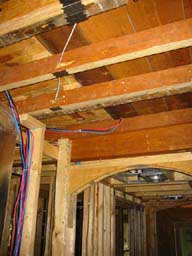
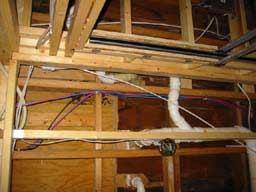
Below left: The wires to bring telephone, cable and the Internet run up from the second floor next to the duct in the pantry. Then they split off into the back bedroom and, below right, into the front bedroom. The window in the photo on the right is in the new study and looks at the building next door. Notice the original ceiling joists and the new lvl microlaminate, some of which is "sistered up" to the original flimsy joists. |
||
|
 |
|
|
What is the plan, man? Phase 1: Preparation leading up to demolition that began June 12 |
|||
| Phase 2: Down to the bones | |||
| Demolition June 12-16 |
Siding June 14-16 |
Excavation June 17 |
Waiting for
concrete June 18-?? |
Phase 3: Foundation work begins; inside shored up; toilet flushes |
|||
| Inside June 23-July 3 |
Outside June 23-July 3 |
Ah,
running water June 23-July 3 |
|
| Phase 4: Stairway to heaven is no flight of fancy | |||
| Basement
becomes accessible July 3-10 |
|||
| Phase 5: Framing, siding | |||
| Taking sides July 14-22 |
Framing analysis July 14-22 |
Lift
high the roofbeam, carpenters July 14-22 |
|
| Phase 6: Windows, doors, decks, electricity, deck joists, drywall | |||
| Exploring the
interior July 22-Aug. 13 |
Shower
is working August |
Plumbing the
depths July 22-Aug. 13 |
Dare to drywall Aug. 14 |